Introduction
In this post you will learn how to deploy highly available docker containers, load balanced with Traefik which can be accessed through your domain name (TLS included), from start to finish. We will be deploying traefik/whoami in order to keep the tutorial simple, however, this guide will work for any docker image.
Setup
Note
If you don't have HashiCorp Nomad installed, please follow the official installation guide to install it.
Before we start deploying our docker container, we first need to set up our Nomad infrastructure.
It is recommended to run Nomad with at least 3 nodes, one of them running in Server mode and the other two running in Client mode.
- Server is responsible for assigning jobs to Clients.
- Clients are responsible for running jobs/containers.
Note
This tutorial assumes that you have 3 linux servers available, because we will be deploying an infrastructure as described above (1 server for Server mode, and the other 2 servers for Client mode).
Server mode setup
In order to set up Nomad to run in Server mode, ssh into the server you want to use for Server mode and make sure the /etc/nomad.d/nomad.hcl config file looks like this:
datacenter = "dc1"
data_dir  = "/opt/nomad/data"
bind_addr = "0.0.0.0"

server {
  # license_path is required as of Nomad v1.1.1+
  #license_path = "/opt/nomad/license.hclic"
  enabled          = true
  # number of client servers
  bootstrap_expect = 2
}
Client mode setup
In order to set up Nomad to run in Client mode, ssh into the two of your servers you want to use as Clients and make sure their /etc/nomad.d/nomad.hcl config file looks like this (make sure you use the address of your own Server node!):
datacenter = "dc1"
data_dir  = "/opt/nomad/data"
bind_addr = "0.0.0.0"

client {
  enabled = true
  # address of the Server node
  servers = ["192.168.0.79"]
}
Warning
Make sure you do this for every linux server you are planning on using as a Client.
WebUI
Once Nomad is running, you can visit the Web interface at http://[ip_of_your_server_or_client]:4646
Deploying the container
Now that our servers are ready, we can start running jobs with Nomad. In this example, we are going to deploy 5 instances of the traefik/whoami container, because we want our containers to be load balanced and highly available. First, create a file named whoami.nomad (it doesn't matter where you create it) and write this job specification:
job "whoami" {
  datacenters = ["dc1"]

  type = "service"

  group "demo" {
    count = 5

    network {
       port "http" {
         to = 80
       }
    }

    service {
      name = "whoami-demo"
      port = "http"
      provider = "nomad"

      tags = [
        "traefik.enable=true",
        "traefik.http.routers.whoami.rule=Host(`whoami.damirhadzagic.com`)",

        ### Tags for TLS
        "traefik.http.middlewares.myredirect.redirectscheme.scheme=https",
        "traefik.http.routers.whoami.middlewares=myredirect",
        "traefik.http.routers.whoami.entrypoints=web",
        "traefik.http.routers.whoami-secure.rule=Host(`whoami.damirhadzagic.com`)",
        "traefik.http.routers.whoami-secure.entrypoints=websecure",
        "traefik.http.routers.whoami-secure.tls.certresolver=myhttpchallenge",
        "traefik.http.routers.whoami-secure.tls=true"
      ]
    }

    task "server" {
      env {
        WHOAMI_PORT_NUMBER = "${NOMAD_PORT_http}"
      }

      driver = "docker"

      config {
        image = "traefik/whoami"
        ports = ["http"]
      }
    }
  }
}
While the job is running, you can go to the WebUI and watch as the containers are being deployed (Jobs -> whoami). If everything has gone well, you should see this:
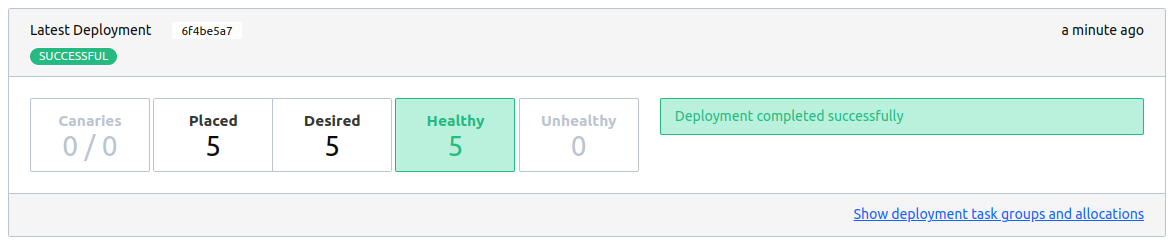
If you want to, you can run docker ps on your Client machines, and you should be able to see the containers we just deployed.


As you can see, Nomad deployed 2 containers on my lab1 VM, and 3 containers on my lab2 VM. Pretty cool, right?
Now that we have deployed our containers, it's time to load balance them via Traefik.
Deploying Traefik
To deploy Traefik, all we have to do is create another job for Nomad to run. Create a file called whoami.nomad and write this job specification:
job "traefik" {
  datacenters = ["dc1"]
  type        = "service"

  group "traefik" {
    count = 1

    network {
      port "http" {
         static = 80
      }

      port "https" {
         static = 443
      }

      port "admin" {
         static = 8080
      }
    }

    service {
      name = "traefik-http"
      provider = "nomad"
      port = "http"
    }

    task "server" {
      driver = "docker"
      config {
        image = "traefik:2.9"
        ports = ["admin", "http", "https"]
        args = [
          "--api.dashboard=true",
          "--api.insecure=true", ### For Test only, please do not use that in production
          "--entrypoints.web.address=:${NOMAD_PORT_http}",
          "--entrypoints.traefik.address=:${NOMAD_PORT_admin}",
          "--entrypoints.websecure.address=:${NOMAD_PORT_https}",
          "--certificatesresolvers.myhttpchallenge.acme.httpchallenge=true",
          "--certificatesresolvers.myhttpchallenge.acme.httpchallenge.entrypoint=web",
          "--certificatesresolvers.myhttpchallenge.acme.email=example@email.com",
          "--certificatesresolvers.myhttpchallenge.acme.storage=/letsencrypt/acme.json",
          "--providers.nomad=true",
          "--providers.nomad.endpoint.address=http://192.168.0.79:4646" ### IP to your nomad server
        ]

       volumes = [
         "letsencrypt:/letsencrypt"
       ]
      }
    }
  }
}
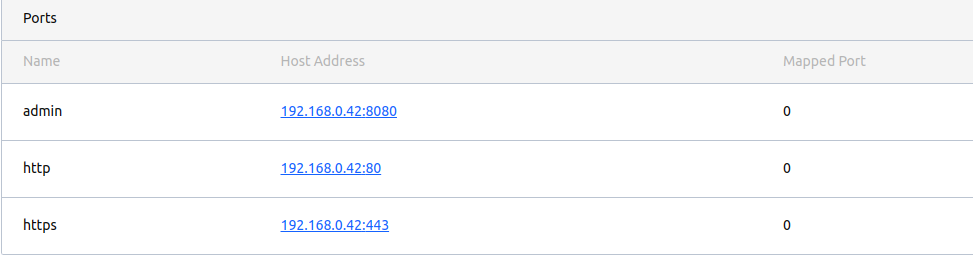
In my case Nomad deployed traefik on 192.168.0.42 (which is my lab2 VM), so let's visit the dashboard at http://192.168.0.42:8080:
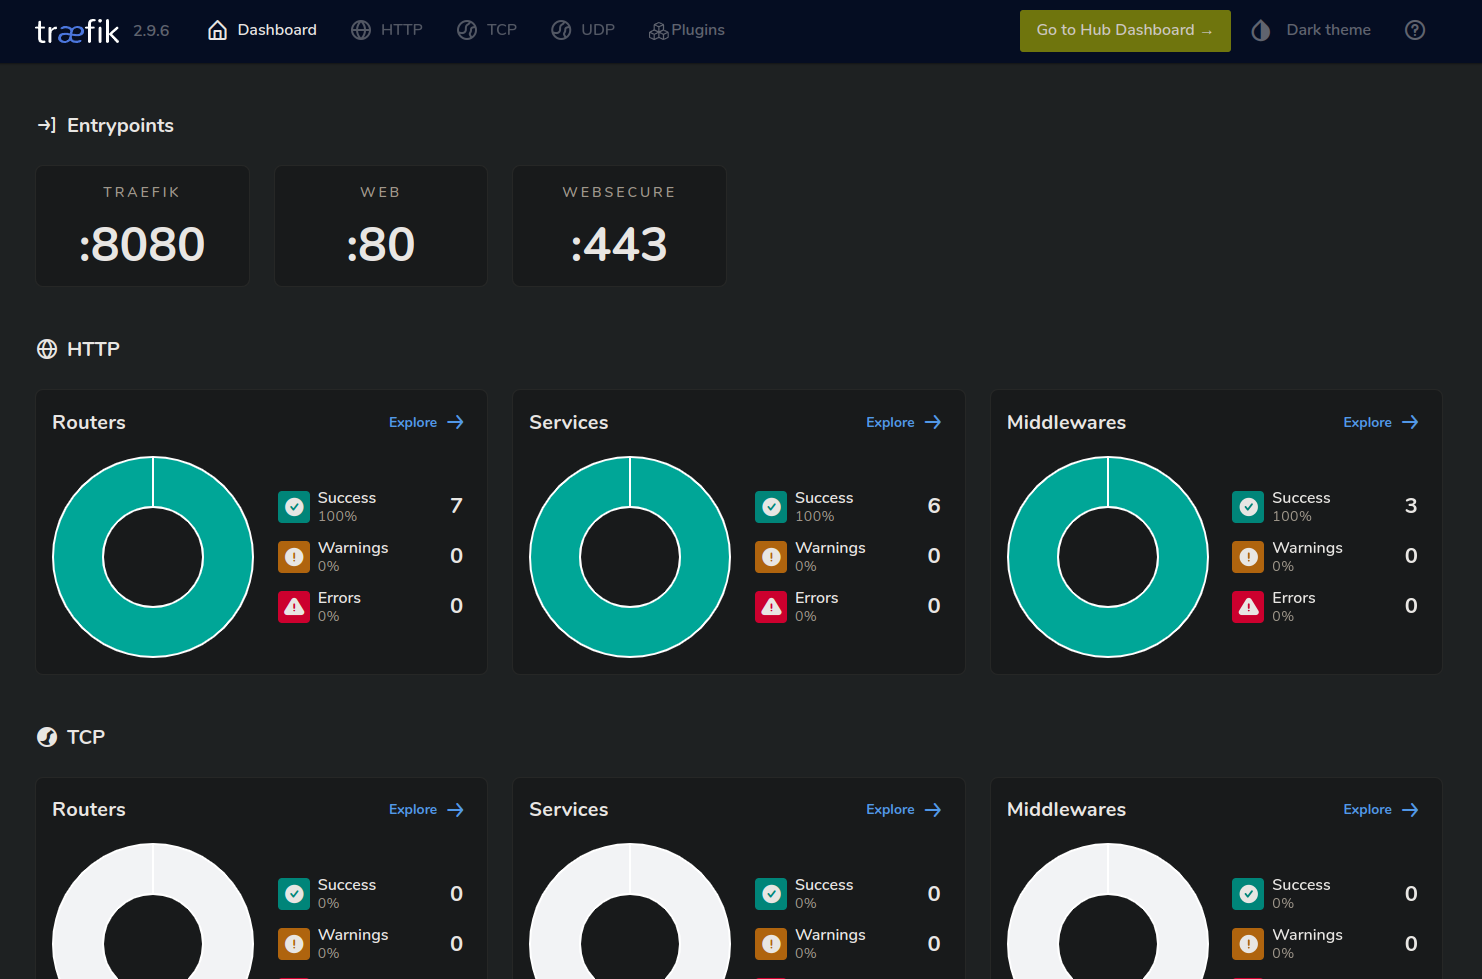
The dashboard loaded successfully which is a good sign, let's now click on the HTTP tab so we can check if traefik wired everything up correctly. Once you've clicked on the HTTP tab, click on the router that's marked with the green TLS icon:

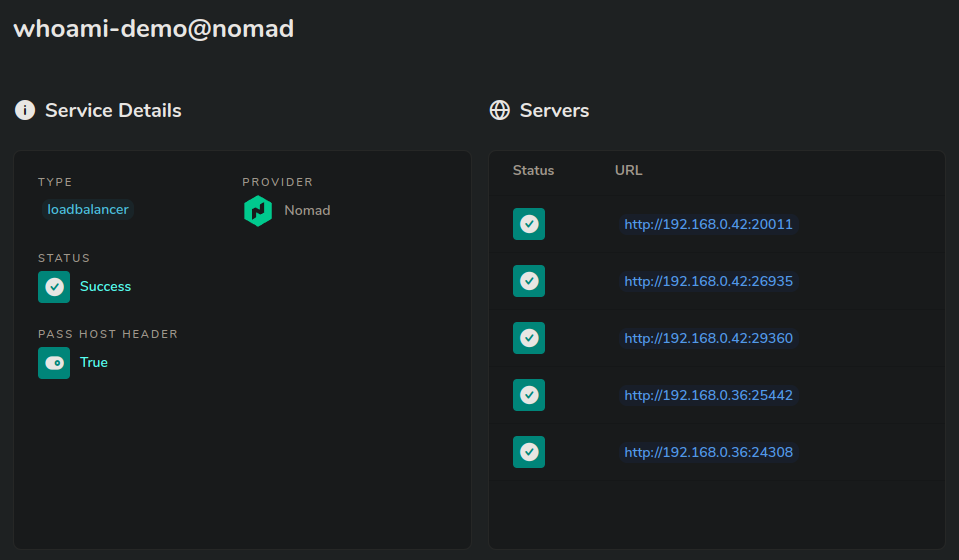
Now click on the whoami-demo service:
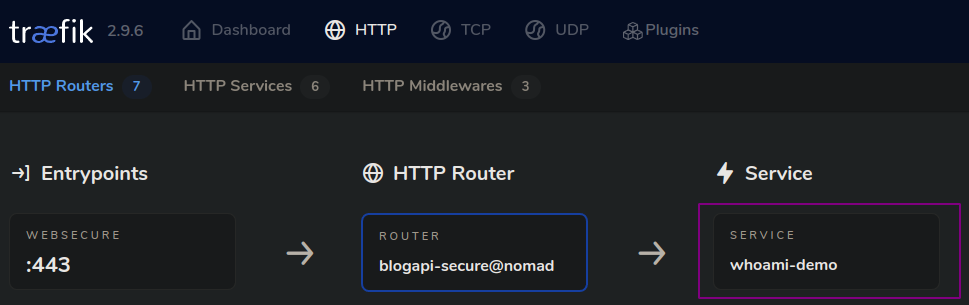
On the right you can see our 5 containers we deployed earlier, this means that traefik has managed to successfully "wire" everything up:
Testing
Now it's time to test if everything works. Head on over to https://yourdomain.com (make sure port 443 is open!) and you should see something like this:
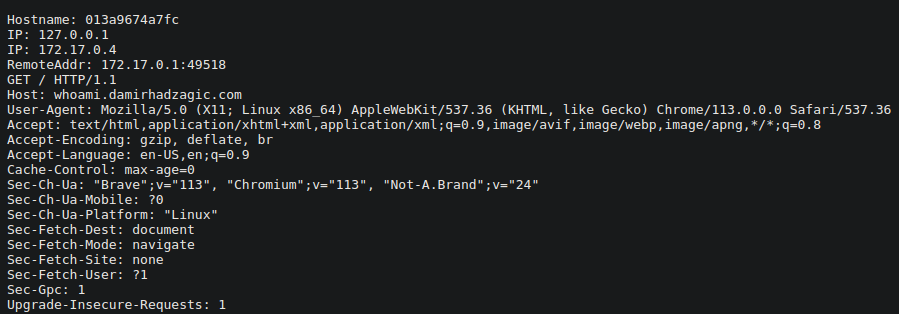 Look at the Hostname field at the top, every time you refresh the page its value will change, which means that traefik is routing requests to different containers, which is exactly what we want.
The End
This is it! Congratulations, you have successfully deployed 5 instances of a container, on two different servers, load balanced with traefik, with TLS as well!